How to customize the login page
The user can customize the login page in the opnbi application as desired. By default, opnbi comes with an Blue and black color theme and custom static images and links, but it can be customized by making a few changes in the JSON file which is present under the folder assets/json inside the root directory for the opnbi.
Objective
Objective of this document is to guide how to customize the login page
Skill Level Required
Basic knowledge of JSON.
info
Click here to know more about JSON.
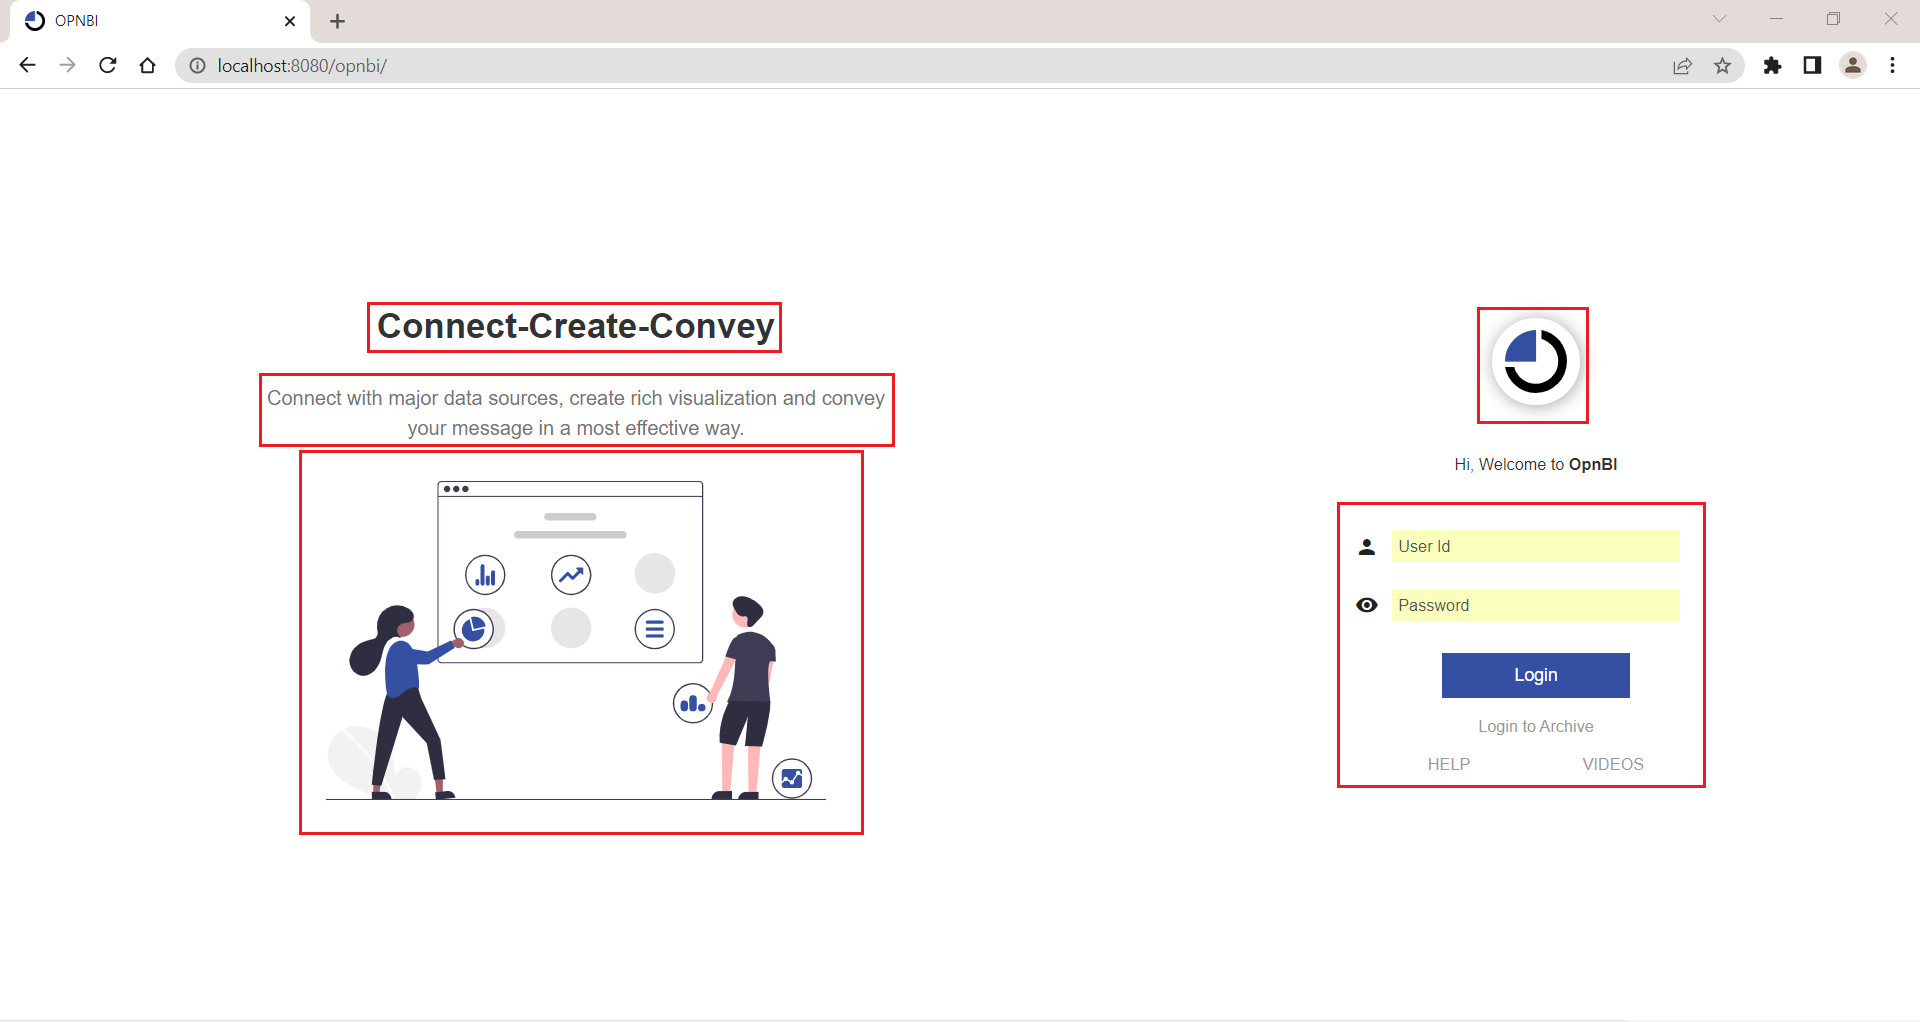
Figure : Introduction
danger
Please make sure you keep a backup of the existing “login_page.json” file & assets folder before making any changes to it.
Steps to customize the login page
Go to your directory/opnbi/tomcat/webapps/opnbi/assets/json folder and open login_page.json in text editor.
In this JSON file, you can see the different properties listed below.
(I) slider: This is an array of images, caption, and caption title. This is used to add a slide show of required images on the login page. Figure 1.0
a. url: ("assets/images/slide-new-1.png"): Provide the path of images you have placed in opnbi.
b. captionTitle: (""): Holds the text you want to display as caption title.
c. caption: (""): Holds the text you want to show below caption title on the login page.
(II) logo: "assets/images/ logoicon.png": This property holds an image that will be displayed as a logo on the login page.
(III) slider_background_color: "#555555": This property is responsible to change background color of slider images.
(IV) login_static_image: "assets/images/login/ convey.svg": This property responsible to show static image in login page when slider is disabled.
(V) welcome_message: "Hi, Welcome to OpnBI": This property holds Text to be displayed on the login page as a welcome message. You can see default welcome message provided in this property on login page just below company logo.
(VI) show_slider: false: This property is used to enable or disable slider images. The function of this property is what we have already seen in the first point. Please refer point number 1 for information
(VII) static_content_h1: "Connect-Create-Convey" : "Connect-Create-Convey": This property stores static content you want to show above static image available on the login page
(VIII) static_content_para: "Connect with major data sources, create rich visualization and convey your message in a most effective way.": This property holds content text the user wants to display on the login page above the image.
(IX) login_to_archieve_button: true: Using this Property user can enable or disable visibility of the Login to Archive link provided just below the login button.
(X) login_help_button: true: Using this Property user can enable or disable visibility of the Help link provided just below the login button.
(XI) login_video_button: true: Using this Property user can enable or disable visibility of Videos link provided just below the login button.
(XII) login_button_bg_color & login_button_text_color: "# f99d12" & "# ffffff ": This property is responsible for the login button background color and login button text color respectively.
(XIII) login_button_text: " Login ": By this property, the user can change the text of the login button. As you can see default text is “Login”.
Open this file in any text editor software, the content of this file should be like the below image:
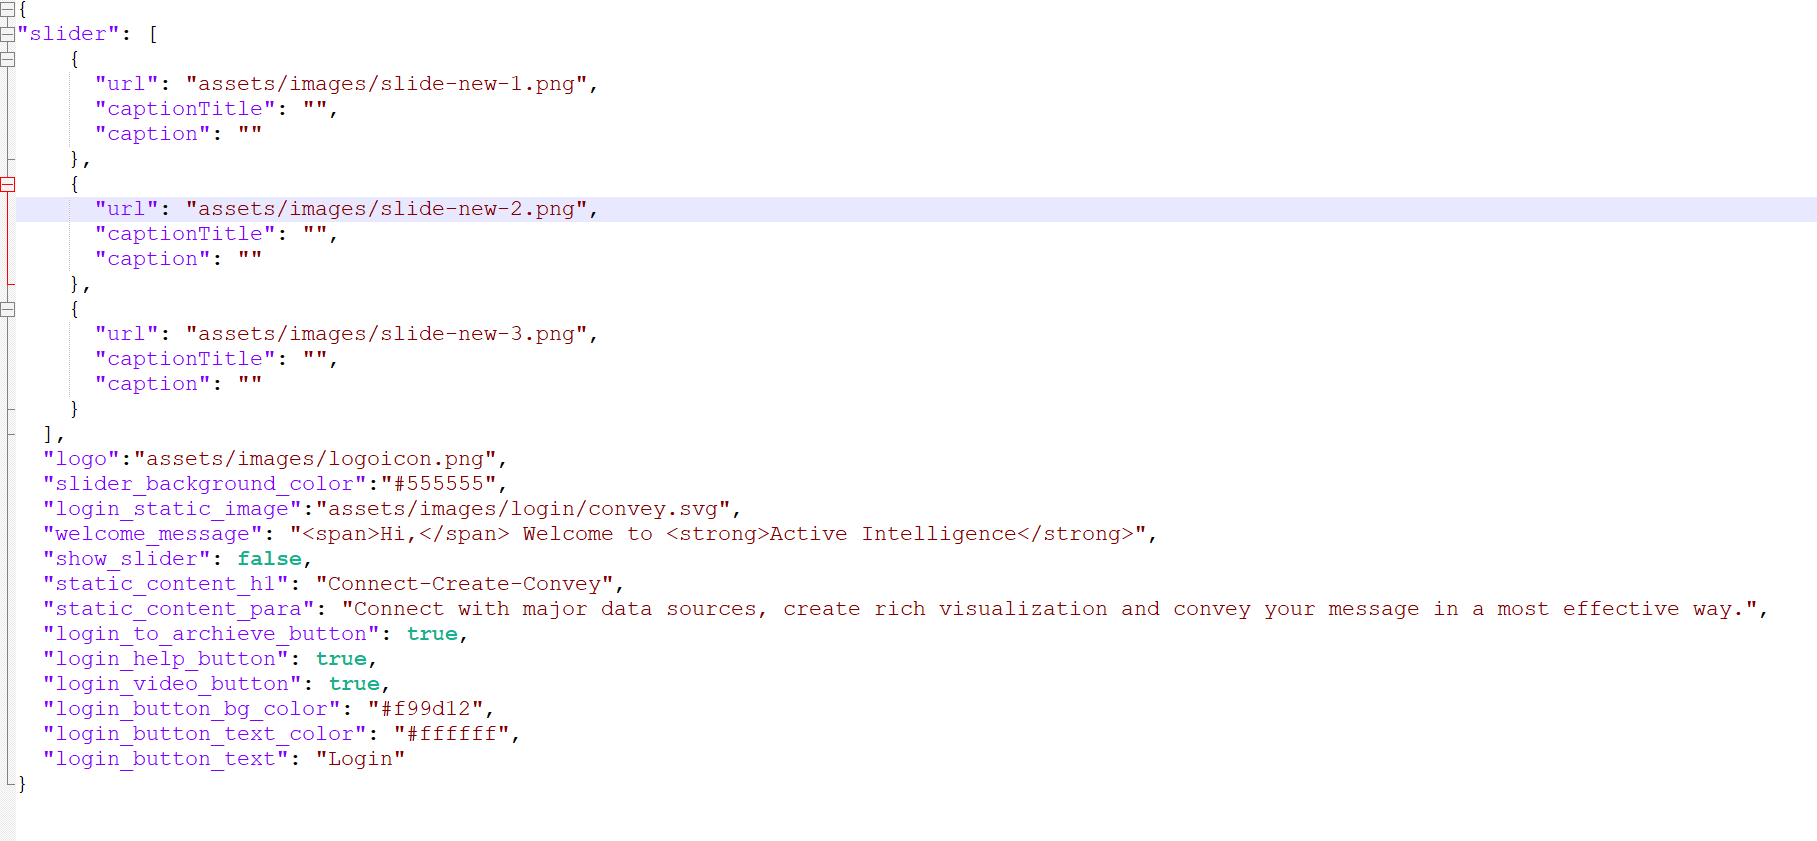
Figure : 1.0
Let’s understand the function of each property provided here step by step:
1. slider
This is the array of images, caption, and caption title. This is used to add a slide show of required images on the login page.
1.1 By default, if you see on the login page, there is only one image being displayed as shown below image:
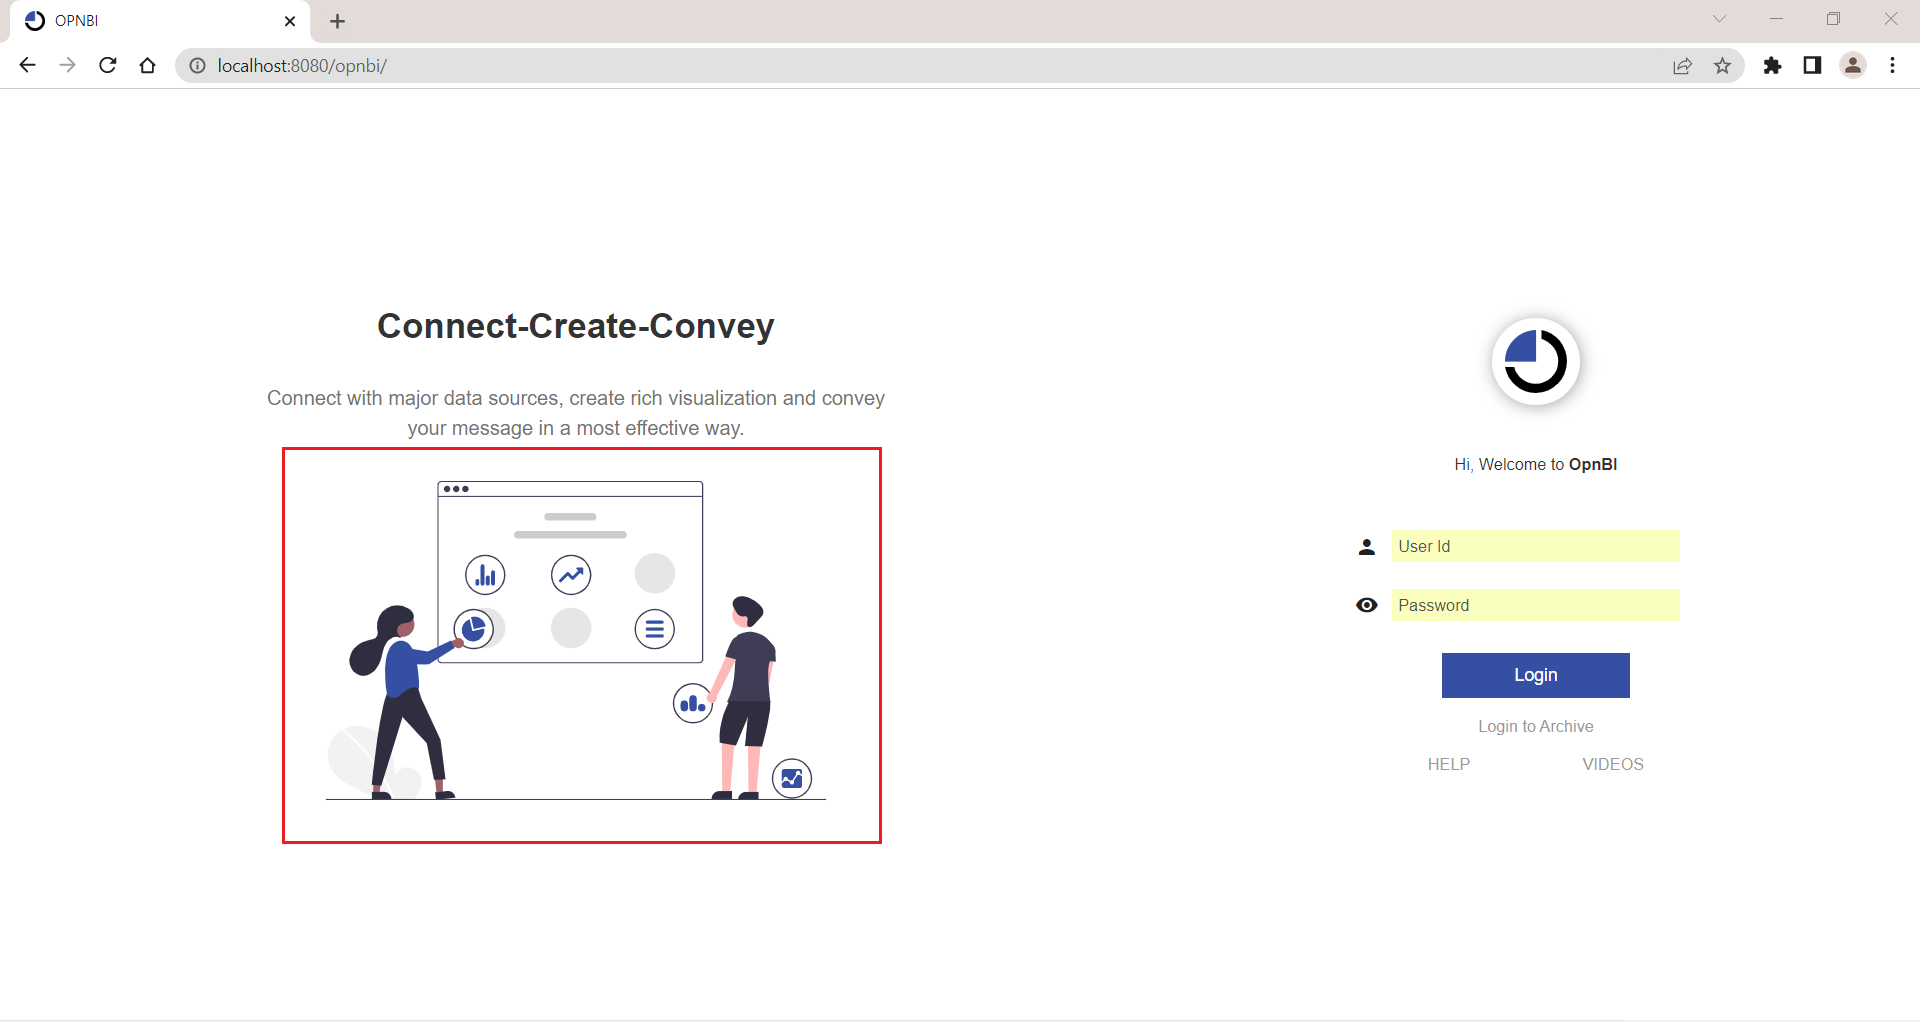
Figure 1.1
1.2 But if the user has more than 1 image to display on the login page, the user needs to provide a list of images in slider array as shown below image:
Note
- user need to add required image files at, your directory/opnbi/tomcat/webapps/opnbi/assets/images and then add images in slider array using mentioned syntax shown in below image.

Figure 1.2
1.3 To make this work, there is a flag named show_slider: false, given in the same JSON file, you have to mark this flag as true, save the file and reload the login page.
1.4 Once you reload the page you can see a list of images provided in the slider array will be displayed one by one in a slider as shown in the below image:
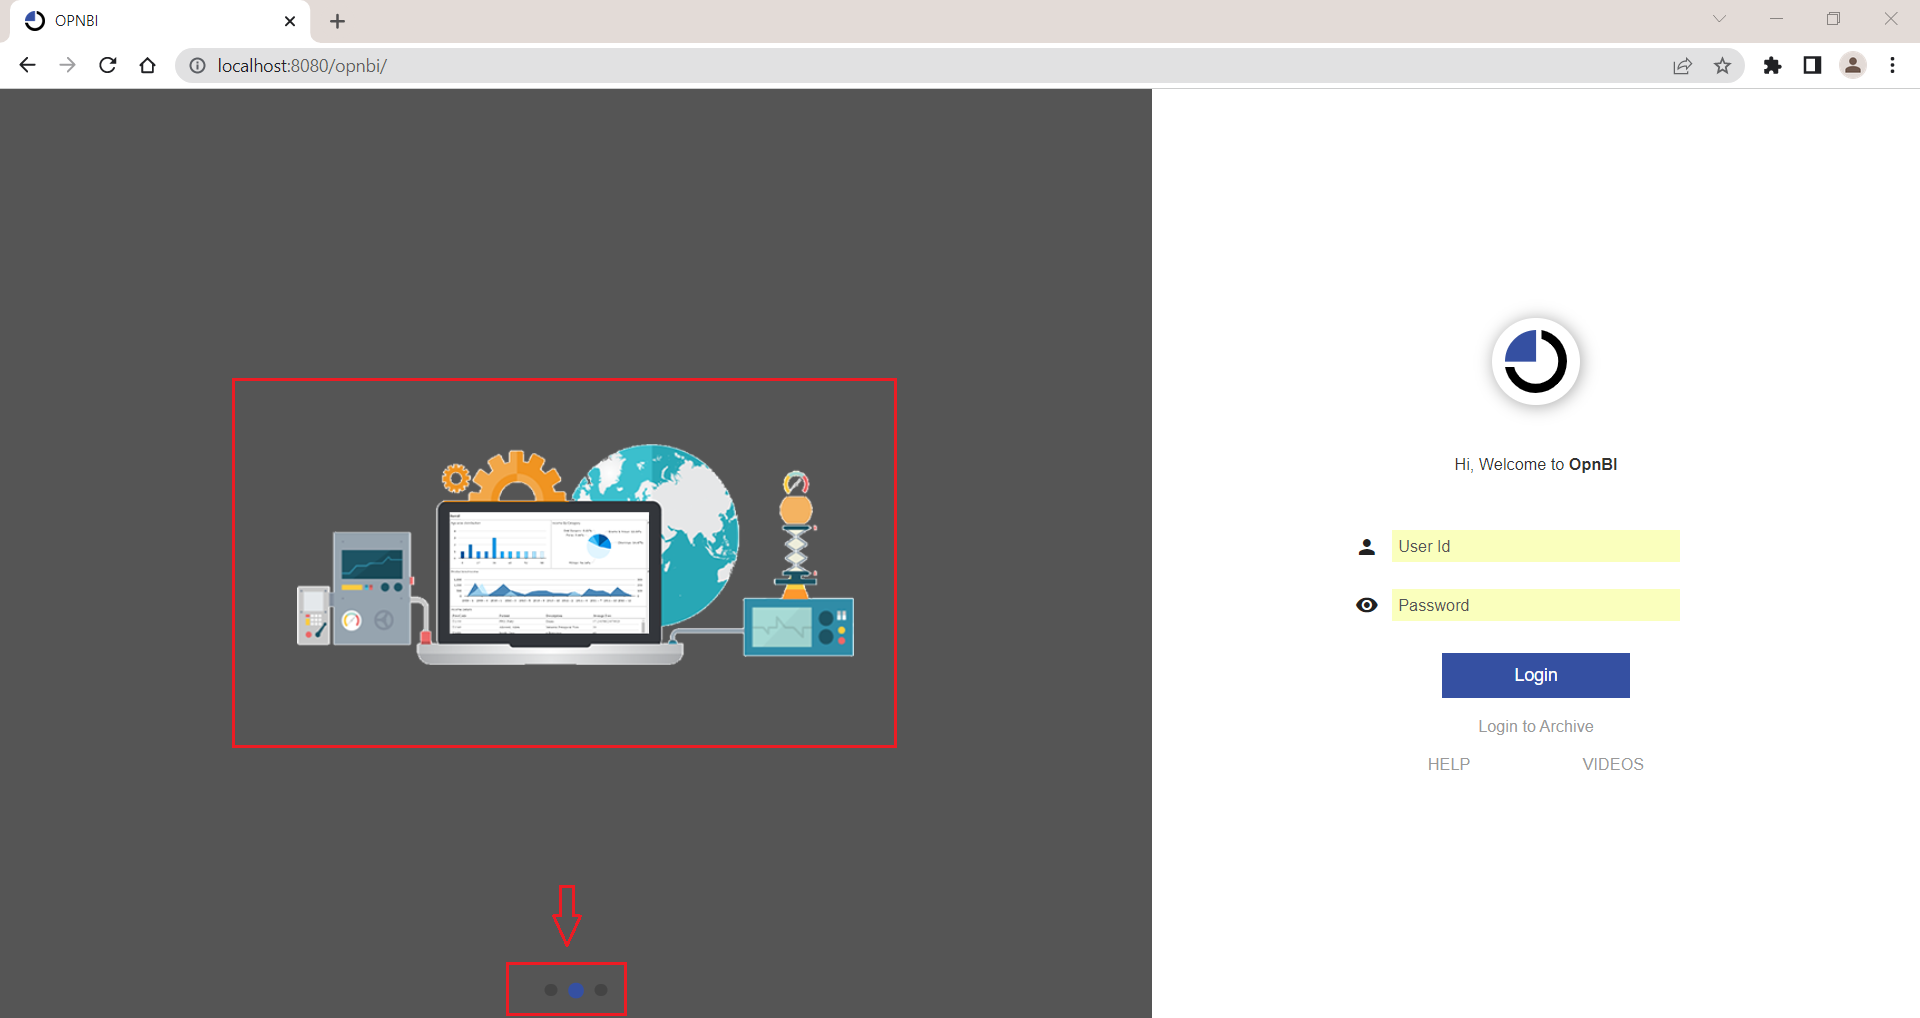
Figure 1.3
1.5 As you can see, images are displayed as a slider but there is no title and context displayed as it was in the initial screen. To add caption title and caption for each image, there is a property named captionTitle and caption for each image in slider array. Provide caption header and caption for each image you want to provide here

Figure 1.4
1.6 Save these changes and clear browser history and reload the login page.
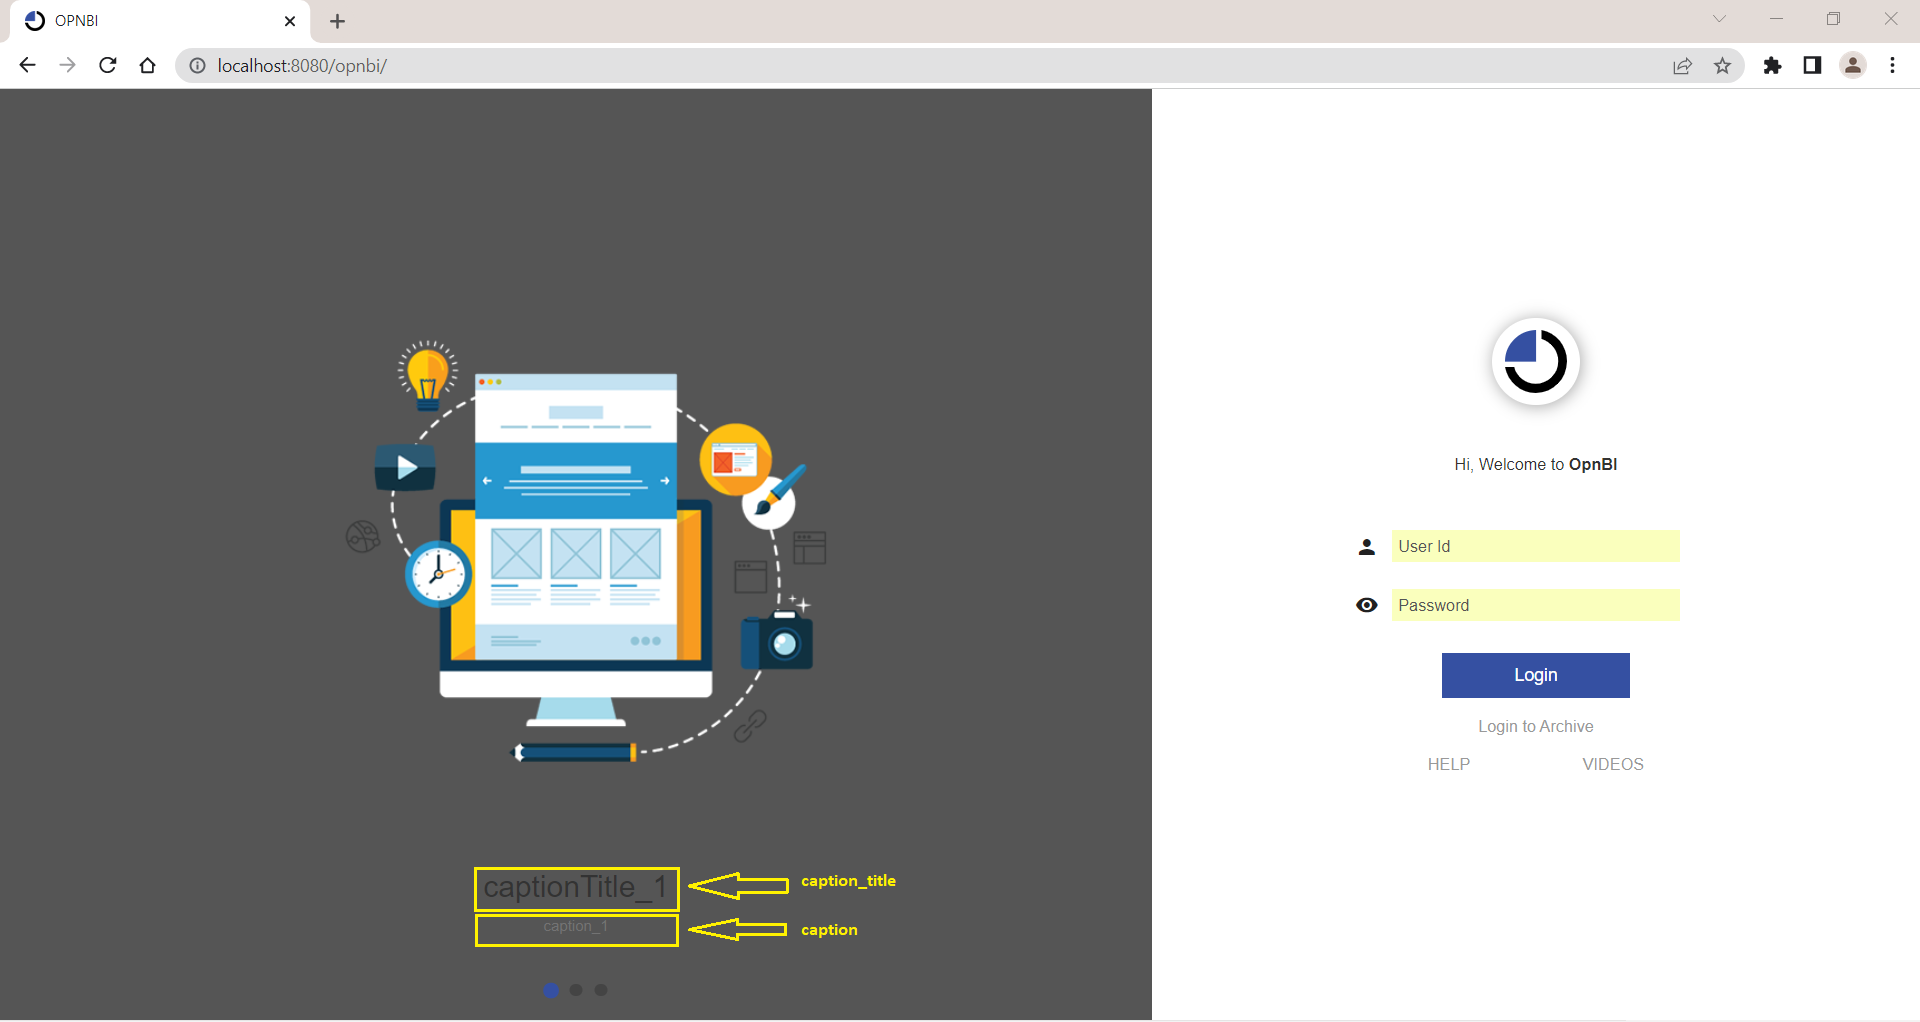
Figure 1.5
2.Logo
This property holds an image which will be displayed on the login page on the right-hand side:
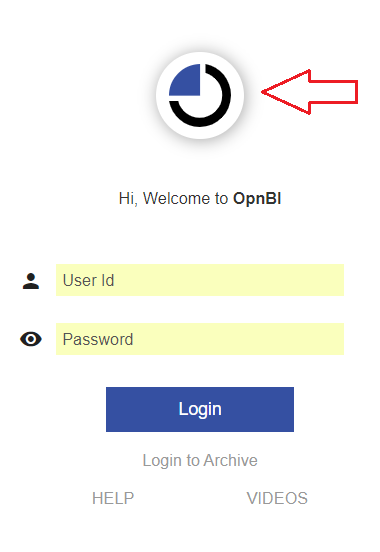
Figure 2.0
2.1 If the user wants to place a customized logo here, it can be done by adding a .svg image file at location your directory/opnbi/tomcat/webapps/opnbi/assets/images folder and provide image name path or replace image with same name as shown in the below image:

Figure 2.1
2.2 Save these changes and clear the history of the browser and reload the page, you can see the applied image is displayed as the logo on the login page:
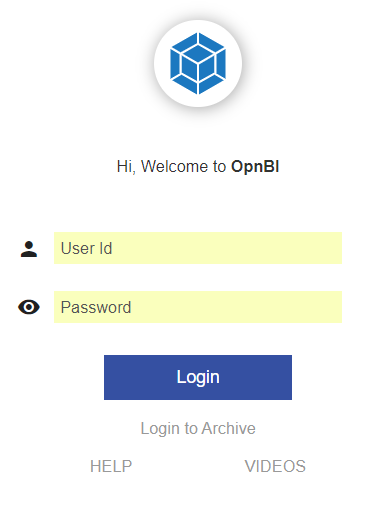
Figure 2.2
3. slider_background_color
This property is responsible to change the background color of slider images.
3.1 For example, for demonstration purposes, we have applied #a8ccdf color to this property in login_page.json file.
Note
This will work only when show_slider is marked as true.

Figure 3.1
3.2 Save these changes, clear browser history, and reload the login page, you can see slider background color is changed:
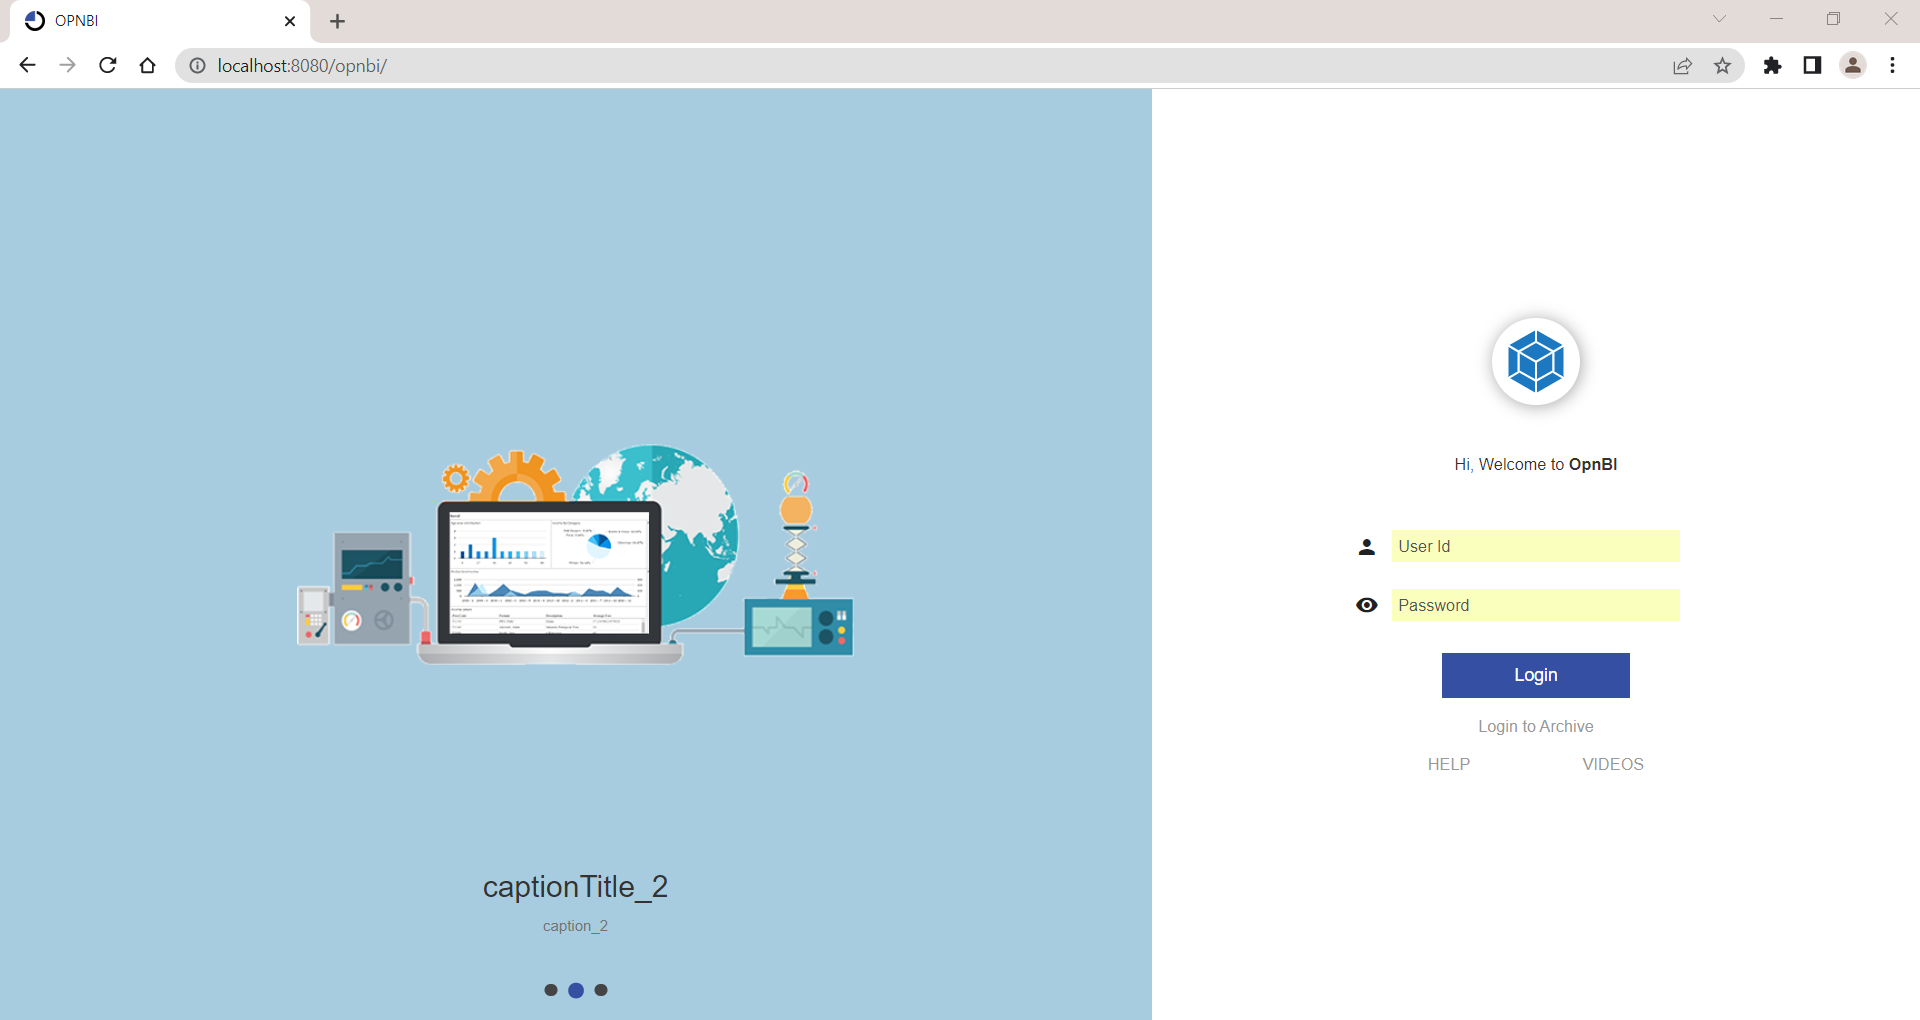
Figure 3.1
4. login_static_image
This property is responsible to show static images on the login page when the slider is disabled.
Note
To display a static image on the login page, you should disable the slider by marking show_slider property to false.
4.1 To know the function of this property Let’s first disable the slider so the login page will display as it was initially. Make "show_slider": false
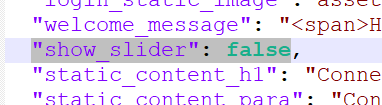
Figure 4.1
4.2 Save these changes, clear browser history, and reload the login page, you can see the login screen as initially displayed. Slider is turned off and one static image is displayed as shown in below screen:
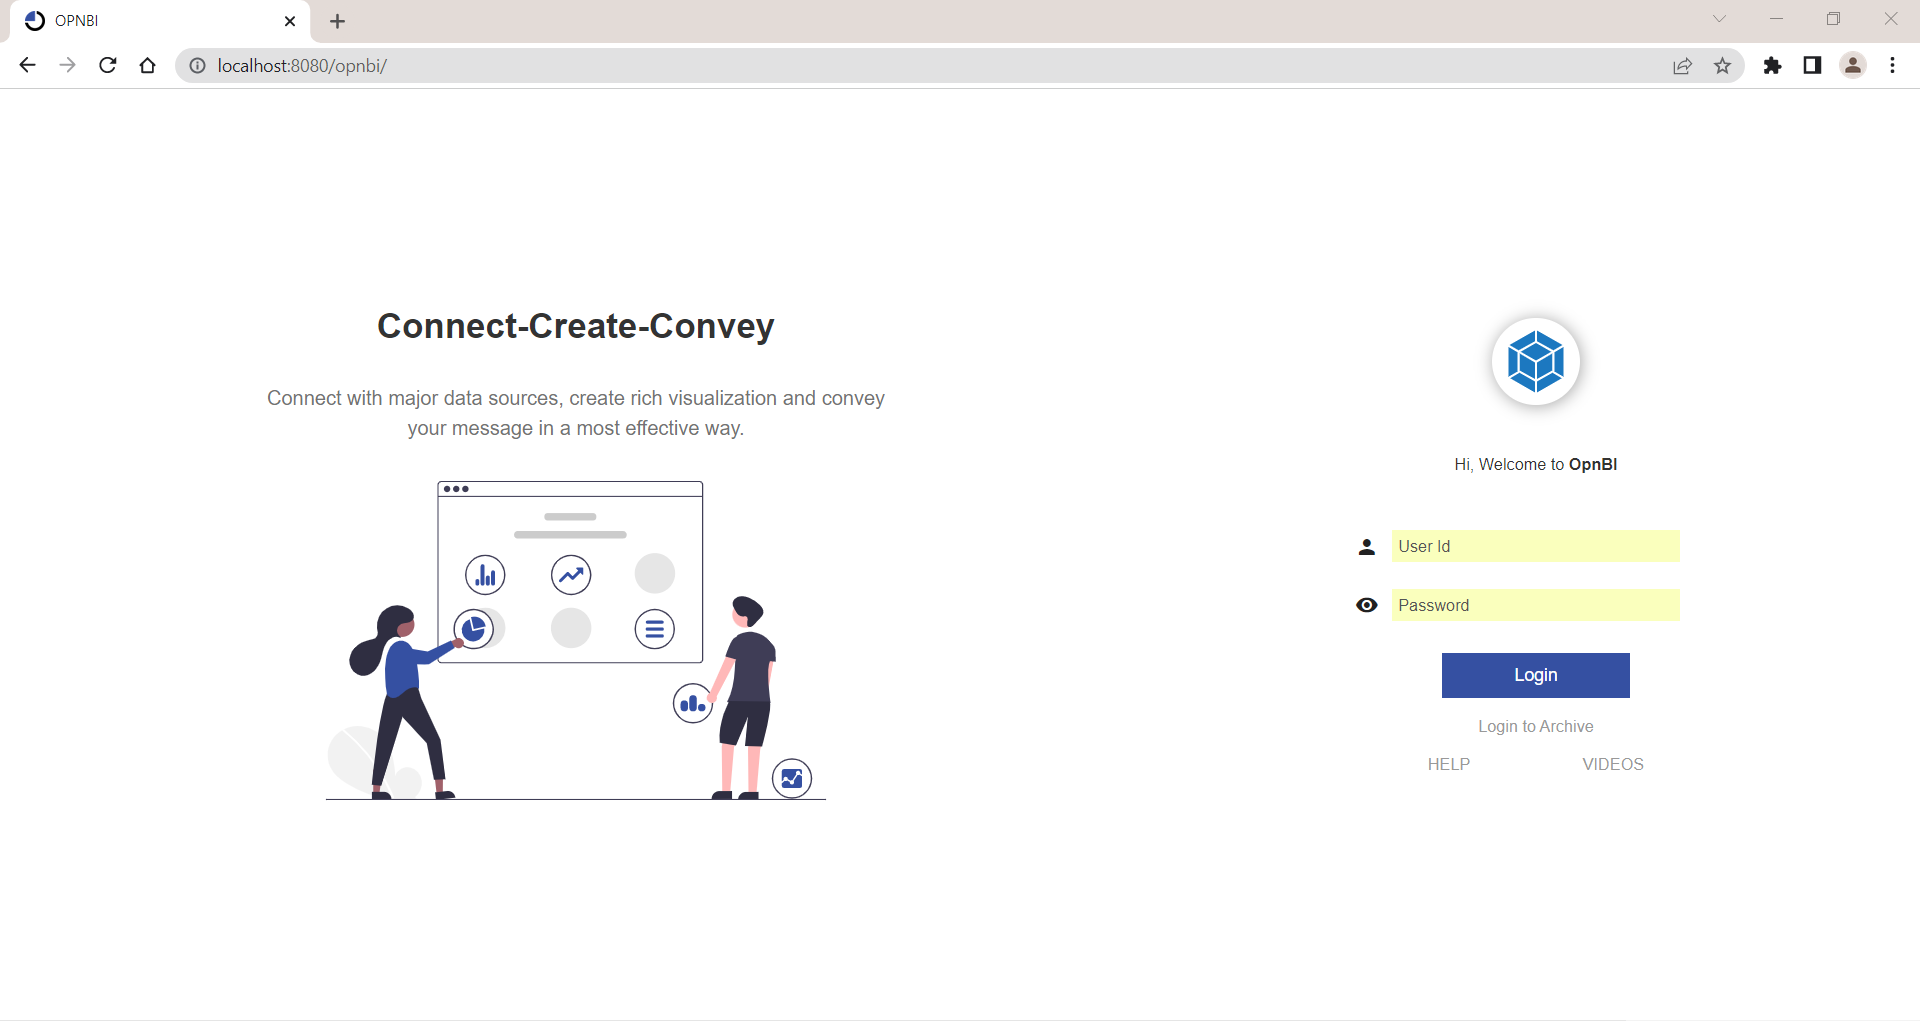
Figure 4.2
4.3 The static image displayed here is placed at location your directory/opnbi/tomcat/webapps/opnbi/assets/images/login folder as you can see in property file:

Figure 4.3
4.4 Place the required image in this folder directory and provide that image name in the JSON file.

Figure 4.4
4.5 Save these changes, clear browser history, and reload the login page, you can see added new image is displayed on the login page:
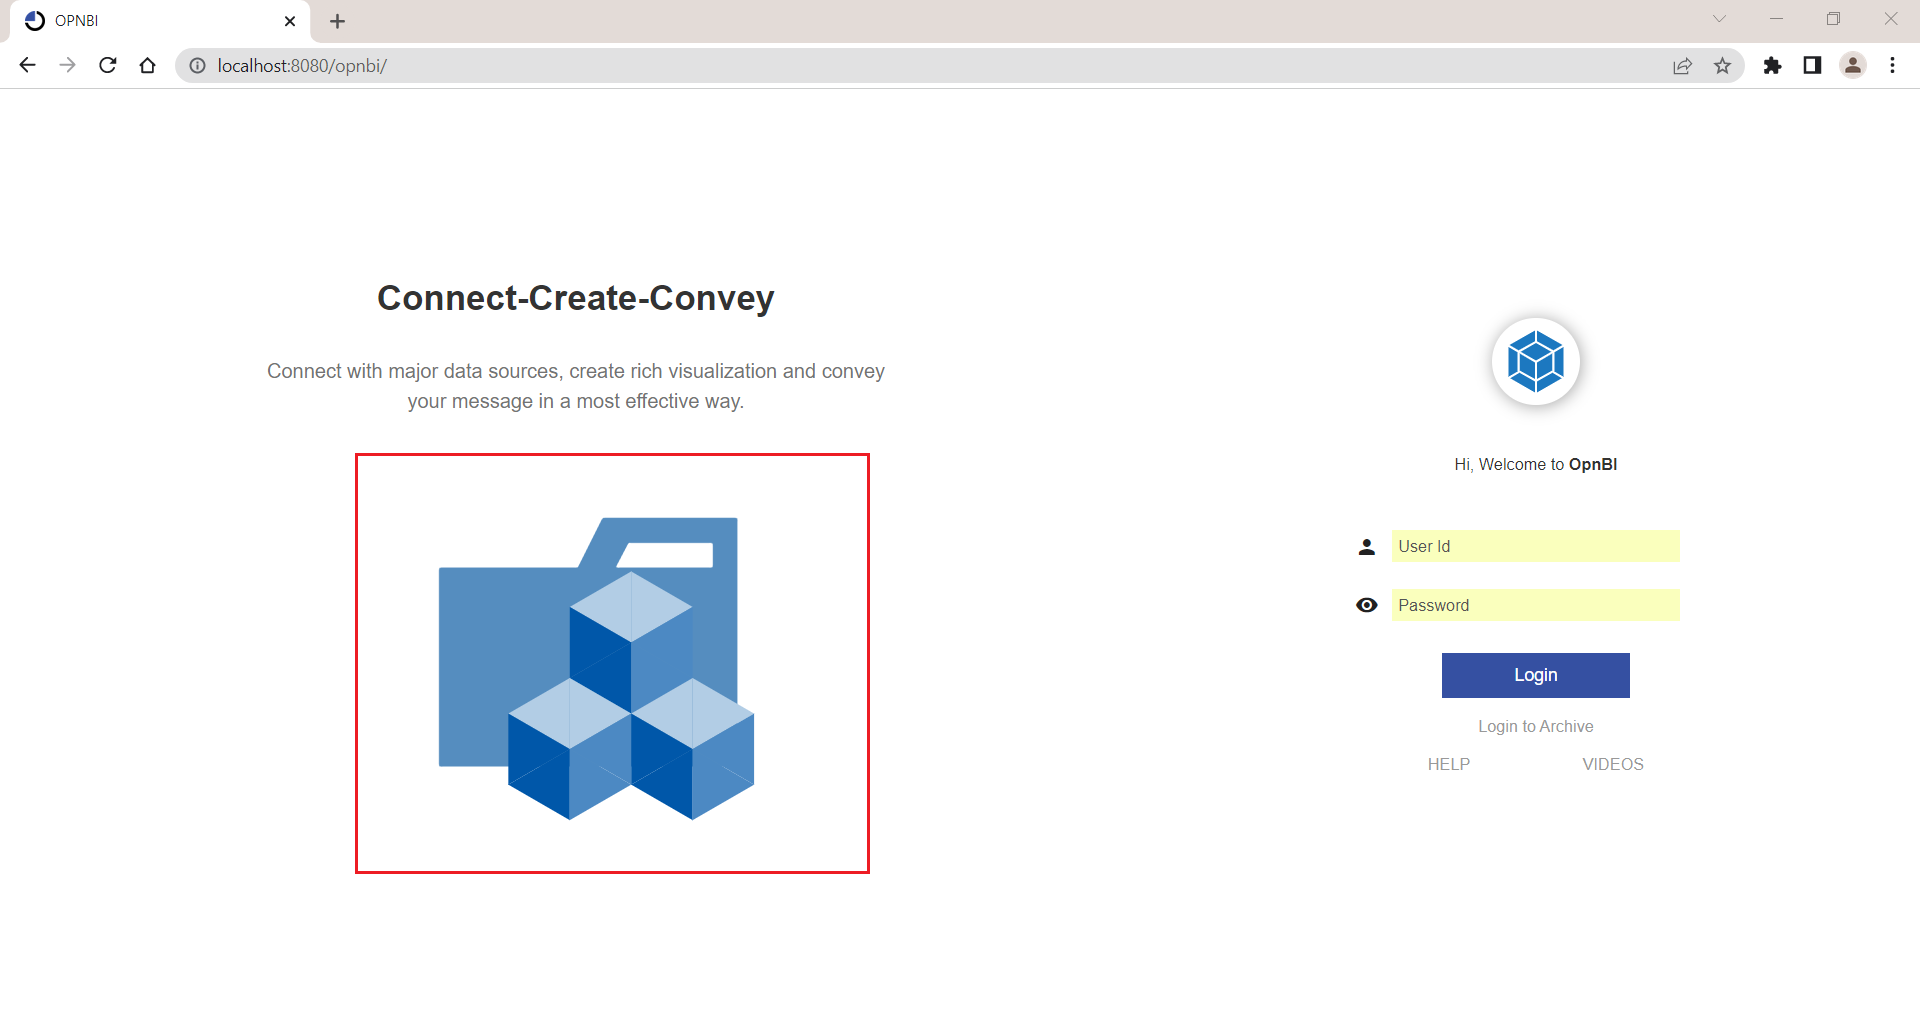
Figure 4.5
5. welcome_message
This property holds Text to be displayed on the login page as a welcome message. You can see the default welcome message provided in this property on the login page just below the company logo.

Figure 5.0
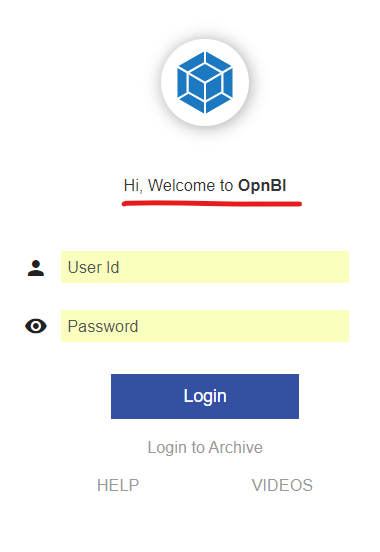
Figure 5.1
5.1 Users can display a customized welcome message from the welcome_message property.
5.2 As you can see below the image, the user can add formatting to this welcome message using HTML attributes enclosed in double-quotes. You can write simple text or you can format this text to look more attractive using HTML.
![]()
Figure 5.2
5.3 Let's make some changes in this message so we can see the changes.

Figure 5.3
5.4 Save these changes, clear browser history, and reload the login page, you can see a new welcome message is being displayed on the login page.
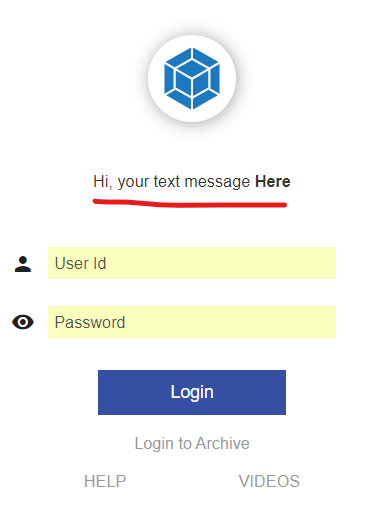
Figure 5.4
6. show_slider
This property is used to enable or disable slider images. The function of this property is what we have already seen in the first point. Please refer to point number 1 for information.
7. static_content_h1
This property stores static content you want to show above static image available on the login page.
7.1 By default, you can see this text as “Connect-Create-Convey” on the static image as shown below image:
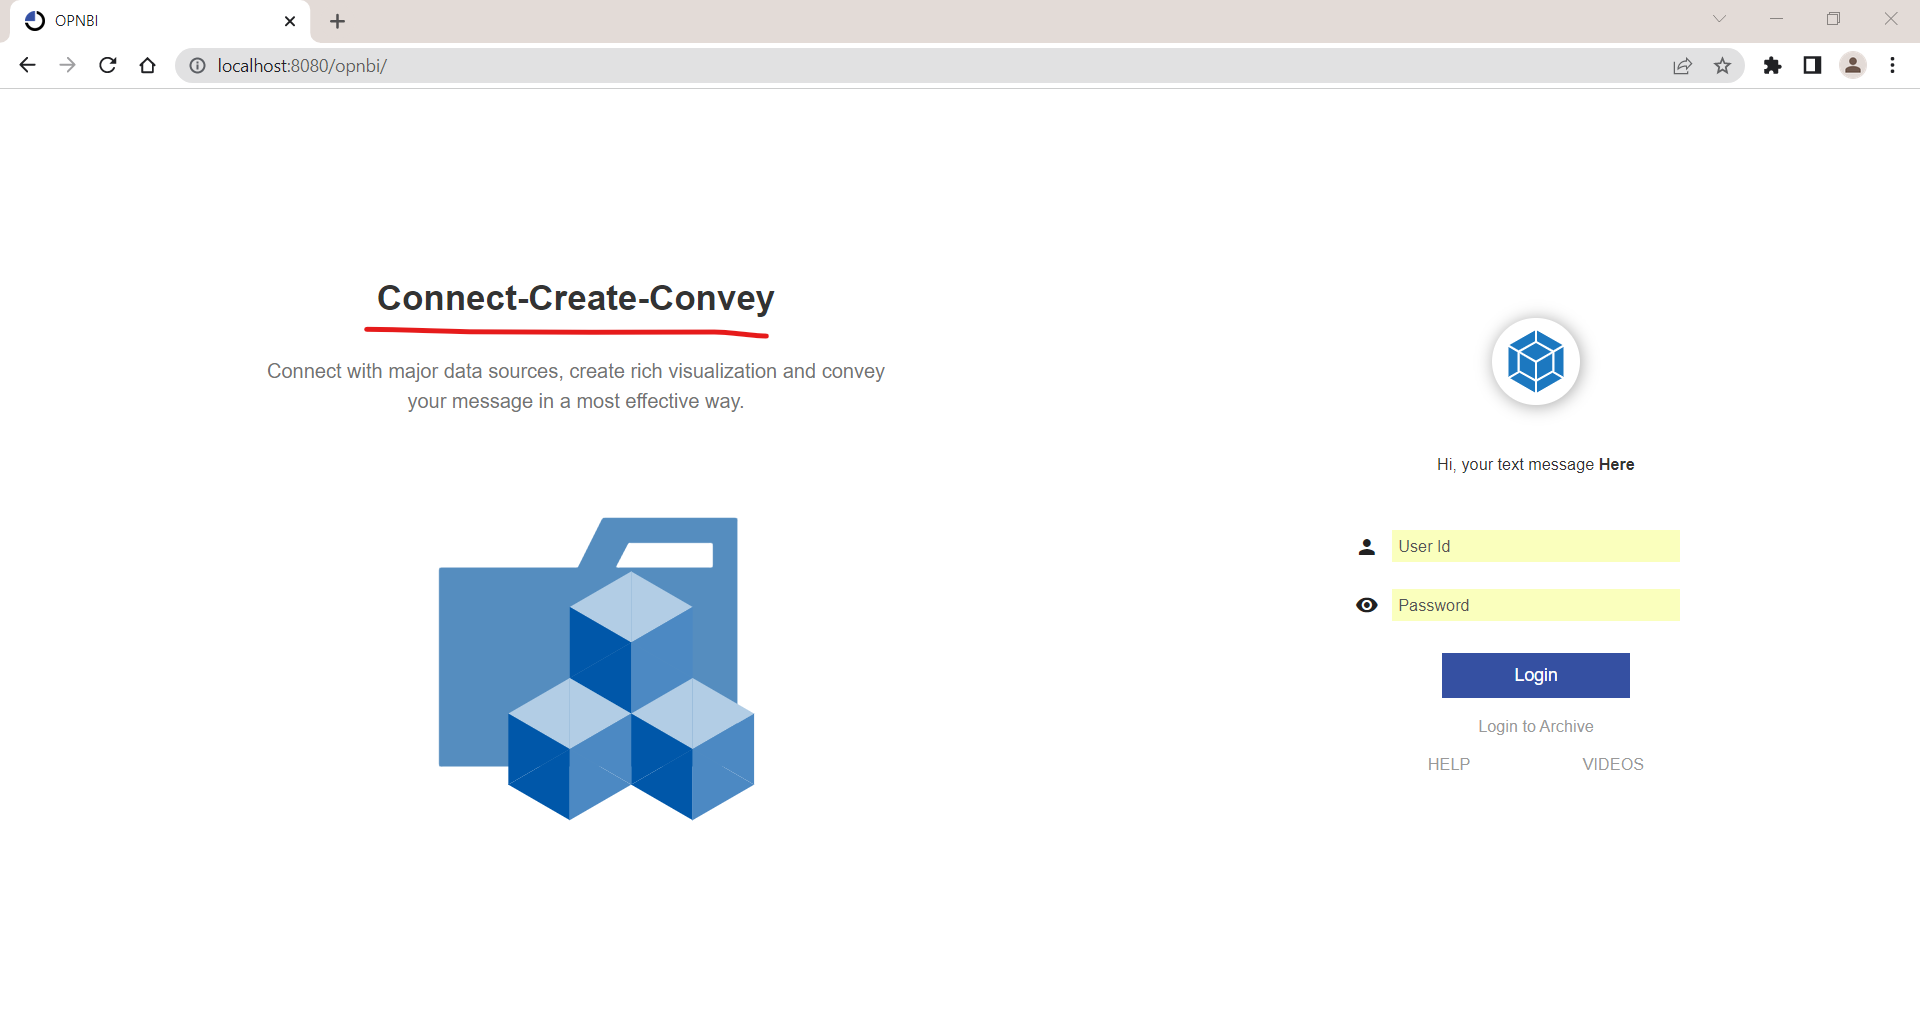
Figure 7.0
Note
This property also has the effect of slider images and is disabled.
7.2 Users can add a customized message as a content header using this property. Let’s make some changes in the text of this property:

Figure 7.1
7.3 Save these changes, clear browser history, and reload the login page, you can see the new content message is being displayed on the login page:

Figure 7.2
8. static_content_para
This property holds content text the user wants to display on the login page above the image.

Figure 8.0
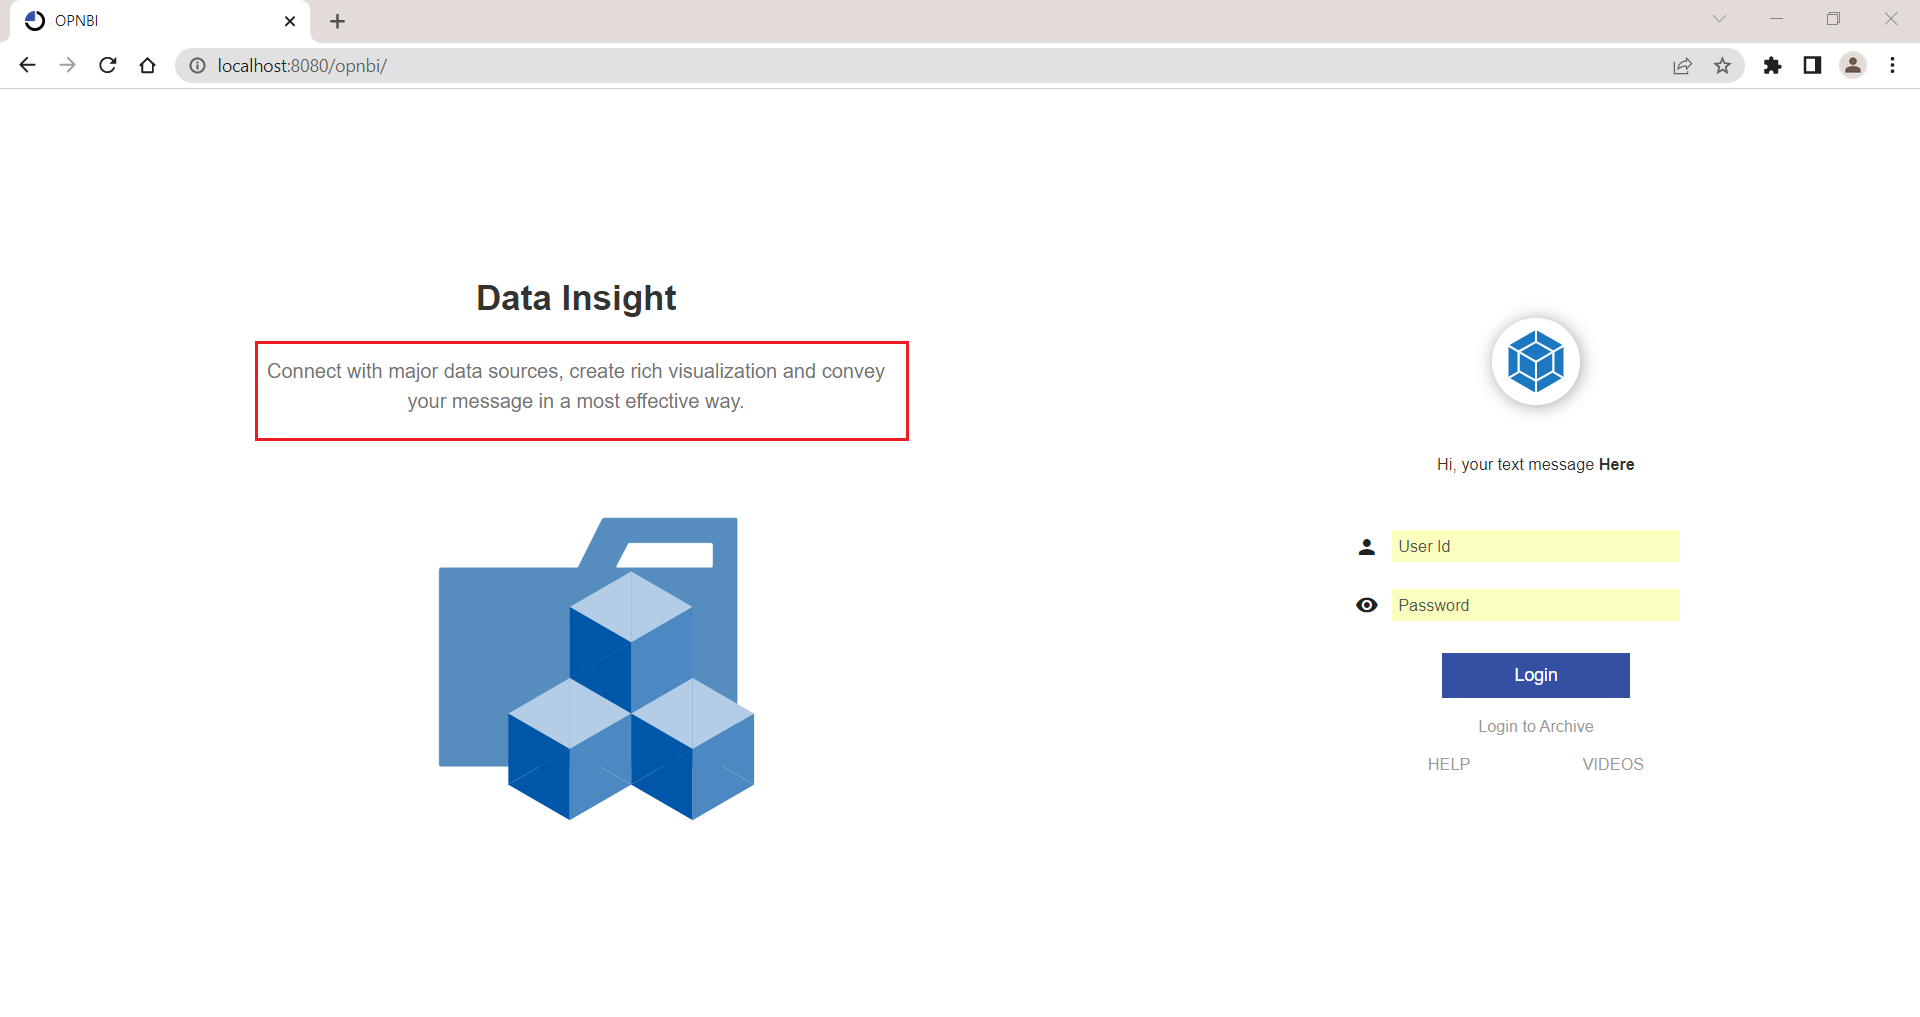
Figure 8.1
8.1 Here users can customize display content on the login page by providing custom messages here.
8.2 Save the changes, clear browser history, and reload the login page, you can see the new content message is being displayed on the login page:
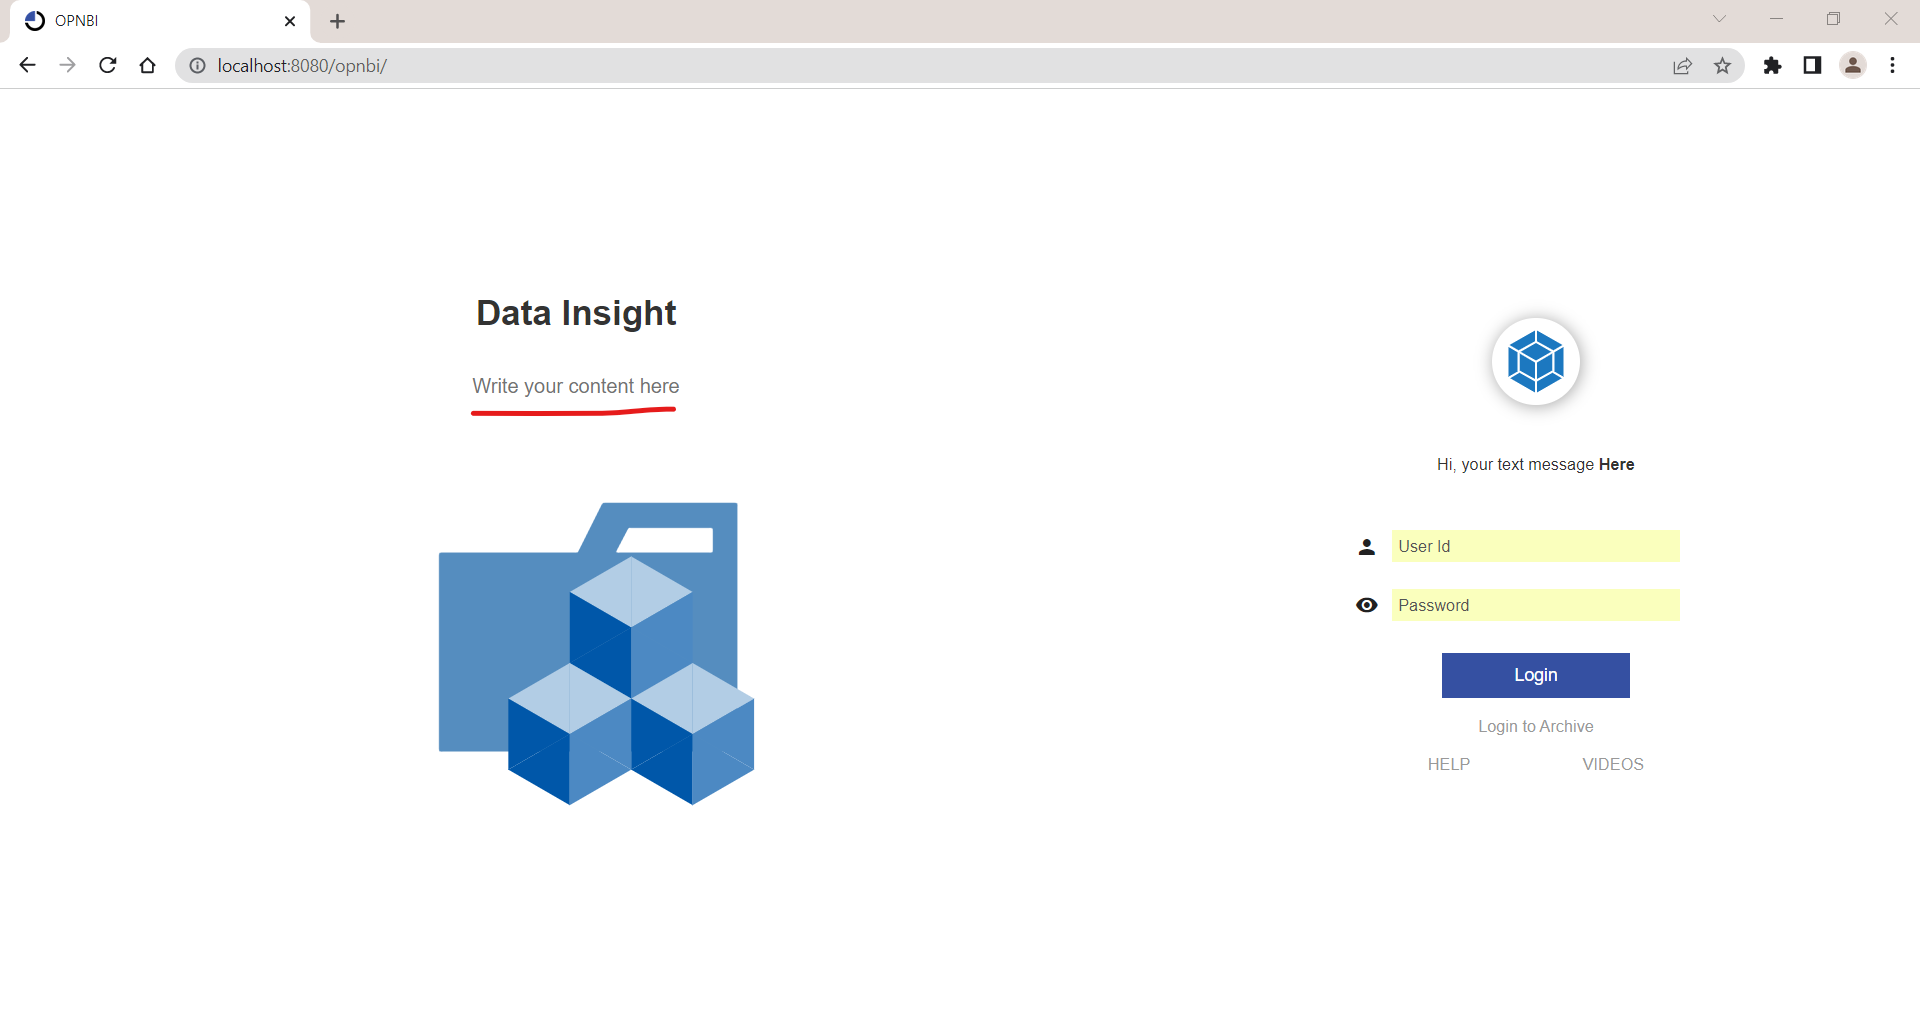
Figure 8.2
9. login_to_archieve_button
Using this Property user can enable or disable the visibility of the Login to Archive link provided just below the login button.
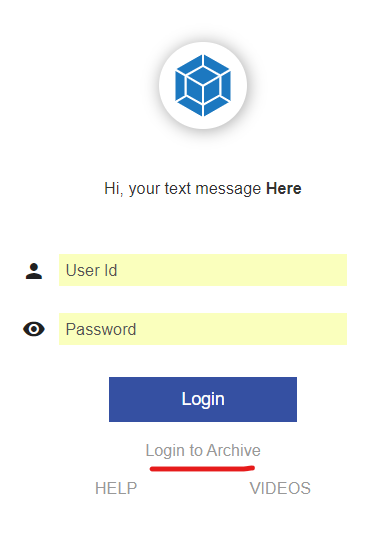
Figure 9.0
9.1 By marking this property as false, this login to archive link can be disabled, here we have marked this property as false and you can see the link is hidden in the below screenshot:
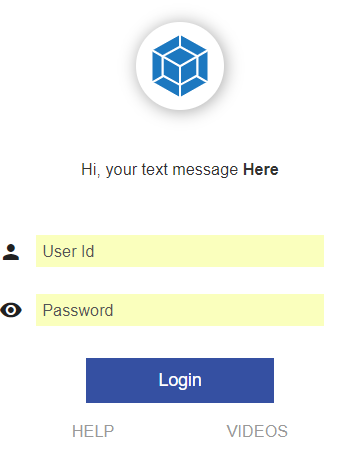
Figure 9.1
10. login_help_button
Using this Property user can enable or disable visibility of the Help link provided just below the login button.
10.1 By default, this Help link is visible as this property is marked true.
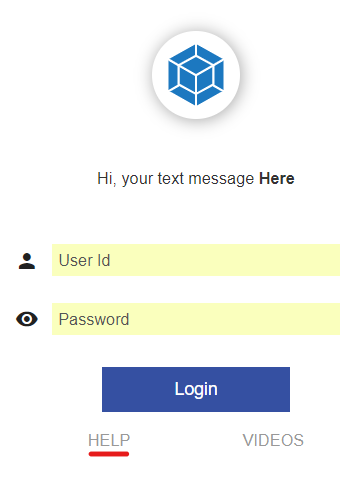
Figure 10.1
10.2 To hide this link from the login page, mark this property as false from a JSON file, save the changes, clear browser history, and reload the login page:

Figure 10.2
11. login_video_button
Using this Property user can enable or disable visibility of the Videos link provided just below the login button.
11.1 By default, this Help link is visible as this property is marked true.
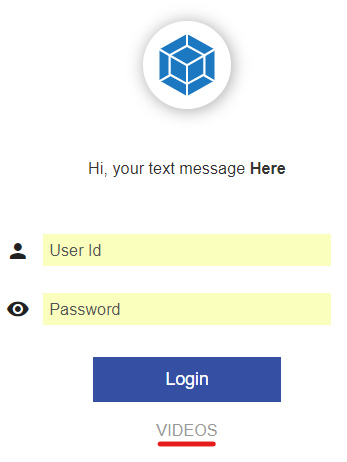
Figure 11.1
11.2 To hide this link from the login page, mark this property as false from a JSON file, save the changes, clear browser history, and reload the login page.
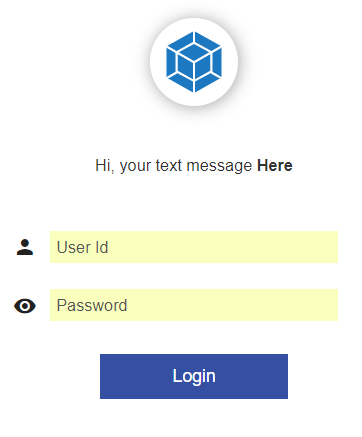
Figure 11.2
12. login_button_bg_color & login_button_text_color
12.1 This property is responsible for the login button background color and login button text color respectively.
12.2 If the user wants to provide customized color and text color for the login button, he can provide color to this property.

Figure 12.1
12.3 Provide hex code of required color here, save the changes, clear browser history, and reload the login page. You will see the color of the login button and its text color has been changed as per provided hex code of the color.
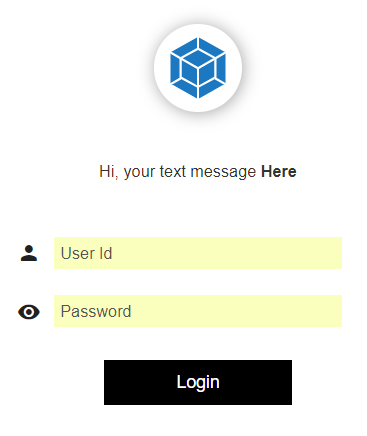
Figure 12.2
13. login_button_text
By this property, the user can change the text of the login button. As you can see default text is “Login”.
13.1 Let’s change the text to see the changes, for demo purposes just write Submit instead of Login.
13.2 Save the changes, clear browser history, and reload the login page to view the changes.
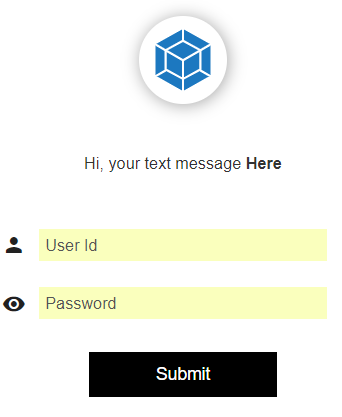
Figure 13.1
info
If you find something not working as per steps provided, Email us on support@opnbi.com